MagickVoice Help Center — Automations
Automations
Manage post-call follow-up automations — chained actions that send a Telegram, WhatsApp, or email message, or call a webhook, after a call completes, conditional on the call outcome, IVR responses, or analysis results. The same automation can be reused across single calls, bulk dispatches, and schedules.
Audience: Operations users · Page address: /app/automations
Common tasks
- Create a new automation
- Review the automations table
- Open an automation's detail and run history
- Edit or delete an automation
How to use this page
1. Understand what an automation does
Know what the feature is for before you build one, so the trigger and actions you pick match the follow-up you want.
- An automation chains follow-up actions that run after a call finishes — send a Telegram, WhatsApp, or email message, or call a webhook — without anyone doing it by hand.
- Each automation has three parts: a trigger (the event that starts it, such as an AI call completing), optional conditions (rules on the call outcome, IVR responses, or analysis results that must match), and one or more action steps (what gets sent). An action step sends on one of five channels — Telegram, WhatsApp, WhatsApp Personal, Email, or a Webhook — and the four message channels send through the accounts you set up on Messaging connections.
- The same automation is reusable. Attach it to a single call, a bulk dispatch, or a schedule, and it runs for every matching event across those dispatches.
- Read the page guide at the top of the page for a short refresher; use the Hide page guide control to collapse it once you are familiar with the feature.
2. Review your automations
Keep track of what is set up and which automations are live before adding more.
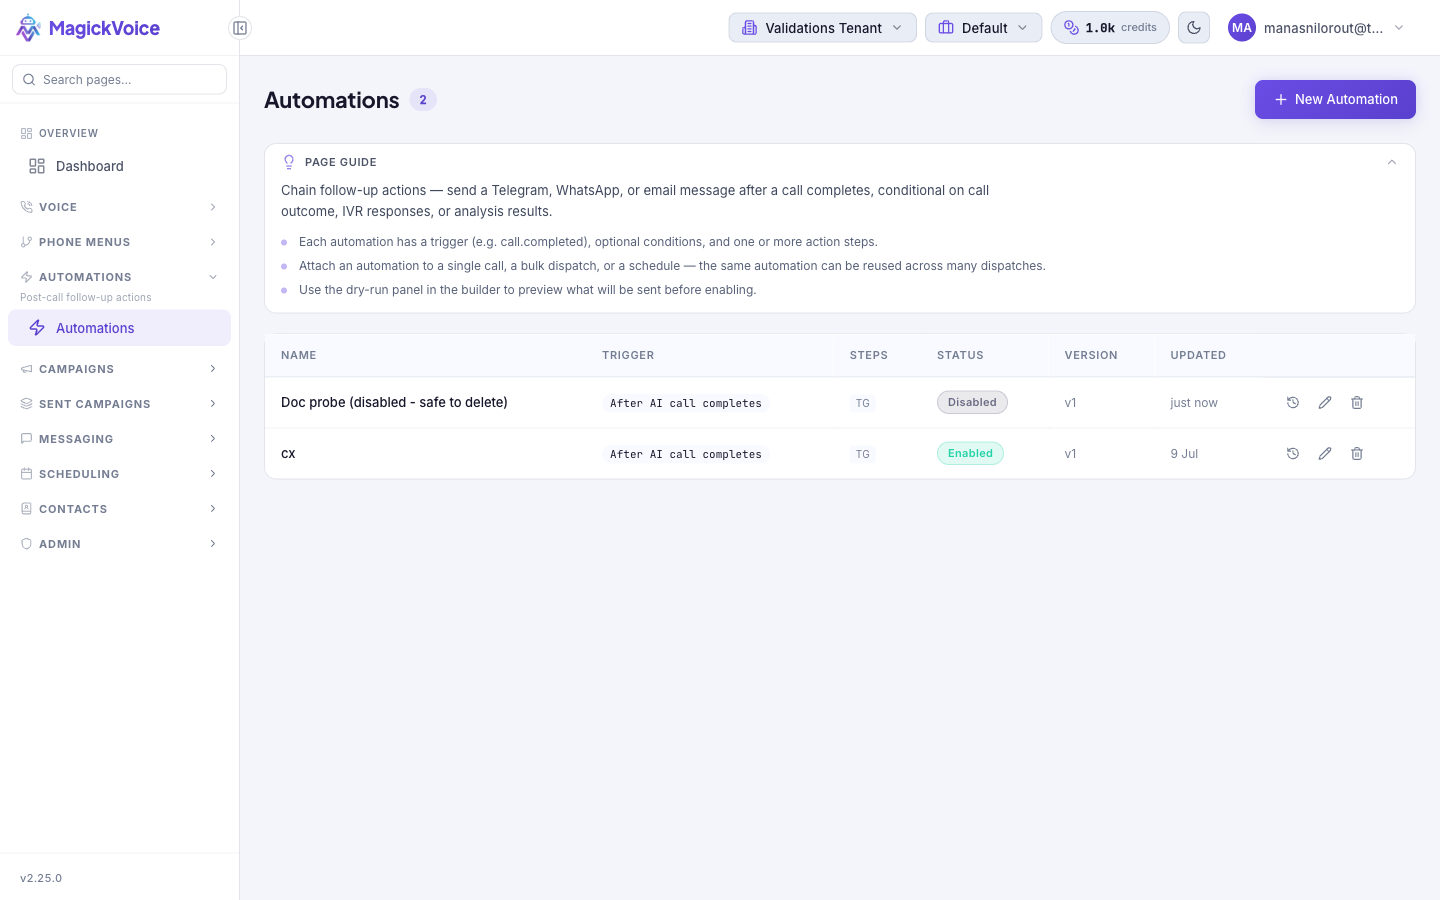
- Open Automations from the sidebar. The table lists every automation in the current tenant with its Name, Trigger, Steps count, Status (Enabled or Disabled), Version, and when it was Updated. Confirm you are in the intended tenant (shown in the top bar) — automations only fire on events within the tenant they belong to.
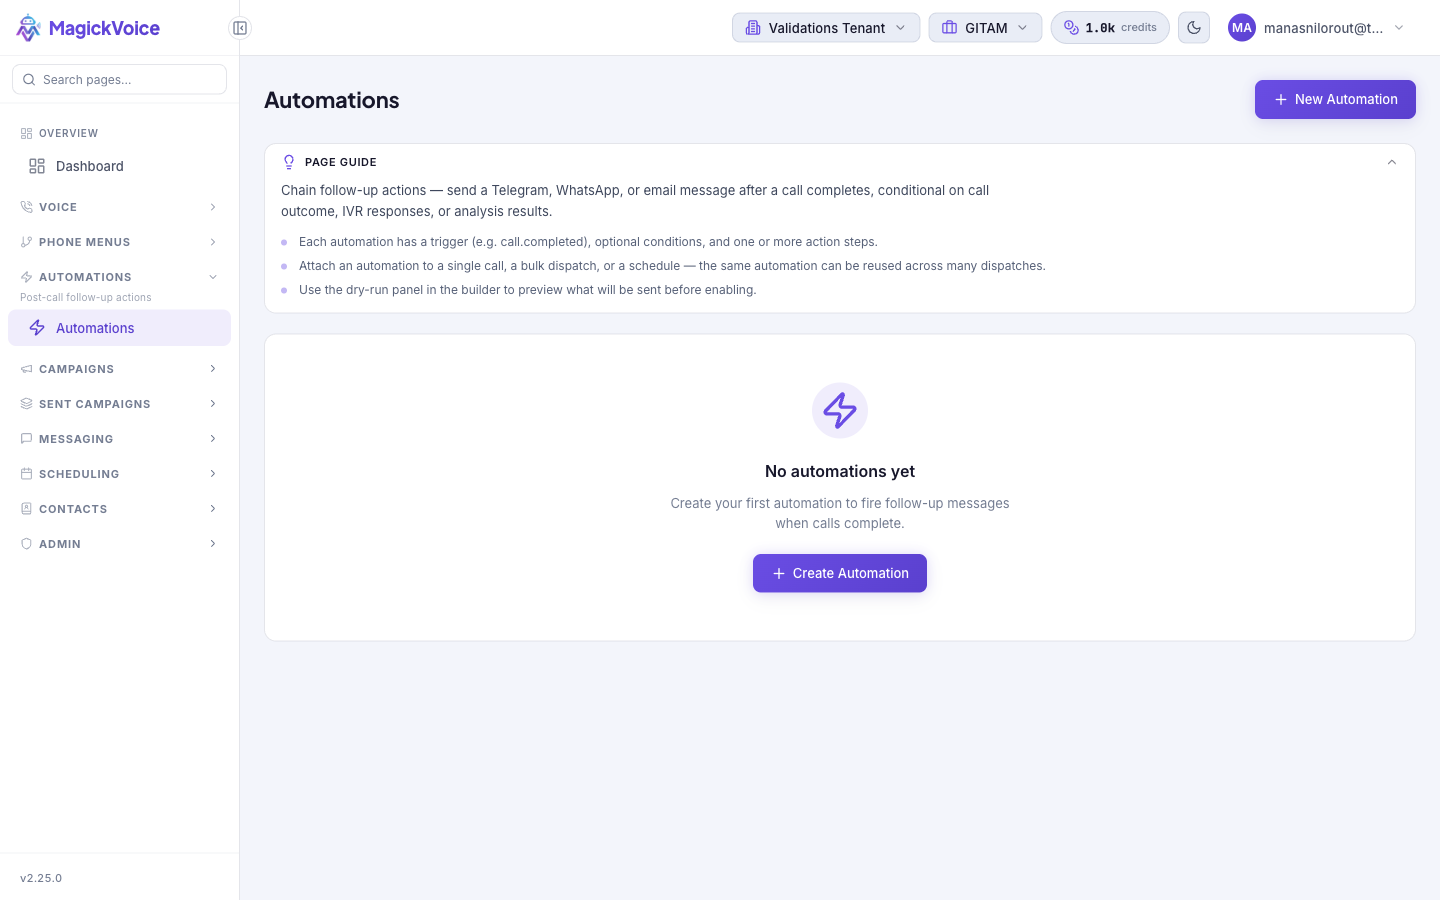
- Before you create your first one, the page shows No automations yet with a Create Automation shortcut instead of the table.
- Select a row — or its Run history action — to open the automation detail page for its summary and run history. Select Edit on a row to open the flow in the builder.
- Use New Automation in the top right to start building; this opens the visual builder on a fresh draft. See Create or edit an automation.
3. Delete an automation
Remove an automation you no longer need, understanding what happens to runs already under way.
- Select Delete on the automation's row.
- Confirm in the dialog. It warns that the deletion cannot be undone, that in-flight runs referencing the automation will still complete, and that new dispatches will not fire it.
- To stop an automation firing without deleting it, edit it and clear its Status instead — that keeps the configuration for later.
Tips and troubleshooting
- Start with a narrow trigger, test it, then broaden conditions after confirming the first run behaves correctly.
- Use the run drawer or detail page when you need evidence of what happened during an automation run.
- An automation only fires on events in the tenant it was created in; switch to the right tenant before you build it.
- Every message channel needs a matching messaging connection first (Telegram bot, WhatsApp number, or email domain), so set those up on [Messaging connections](/docs/messaging-connections) before you expect a step to send.